Contents
Externals
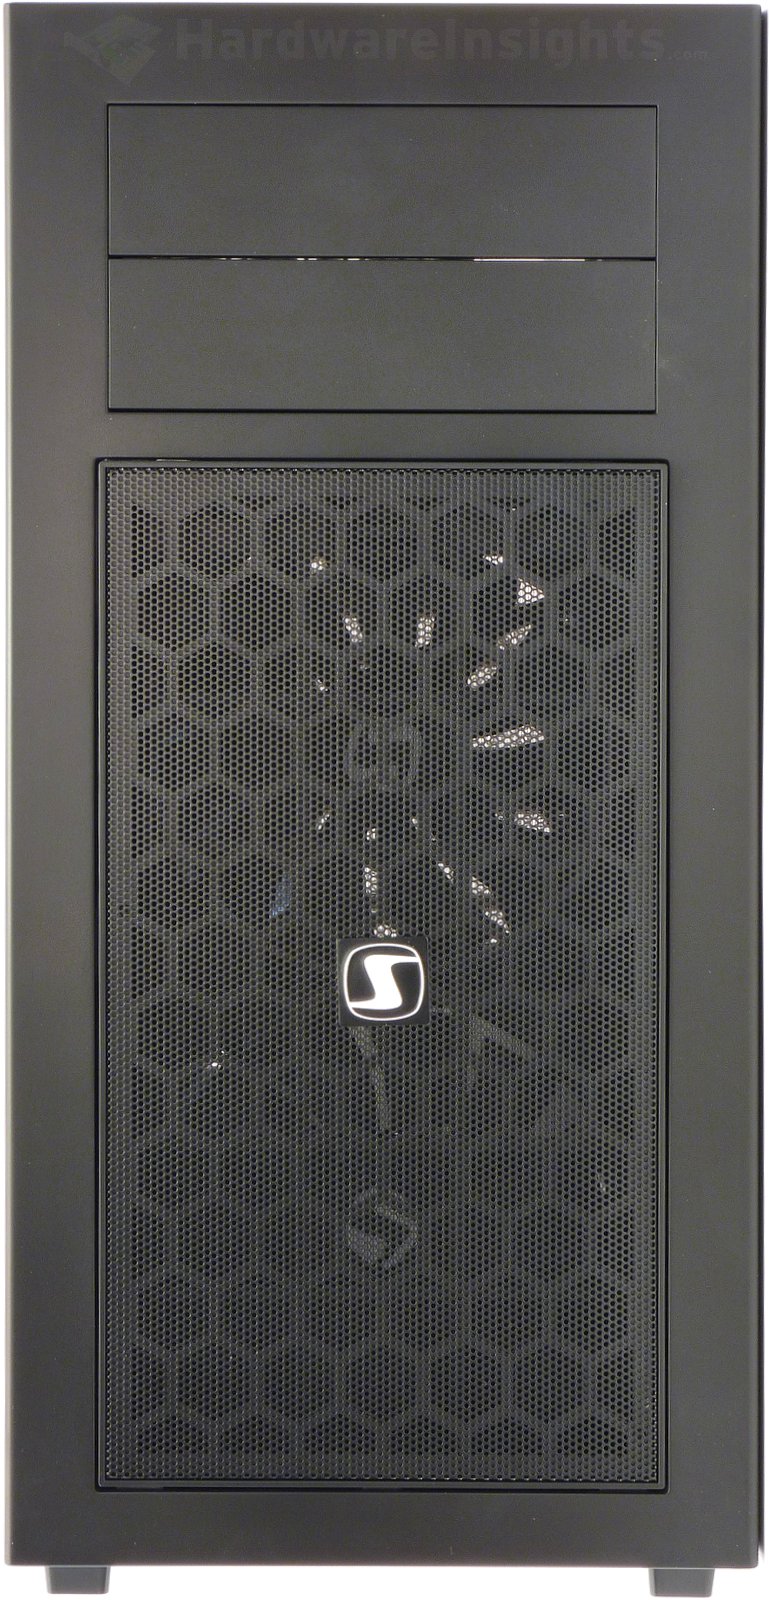
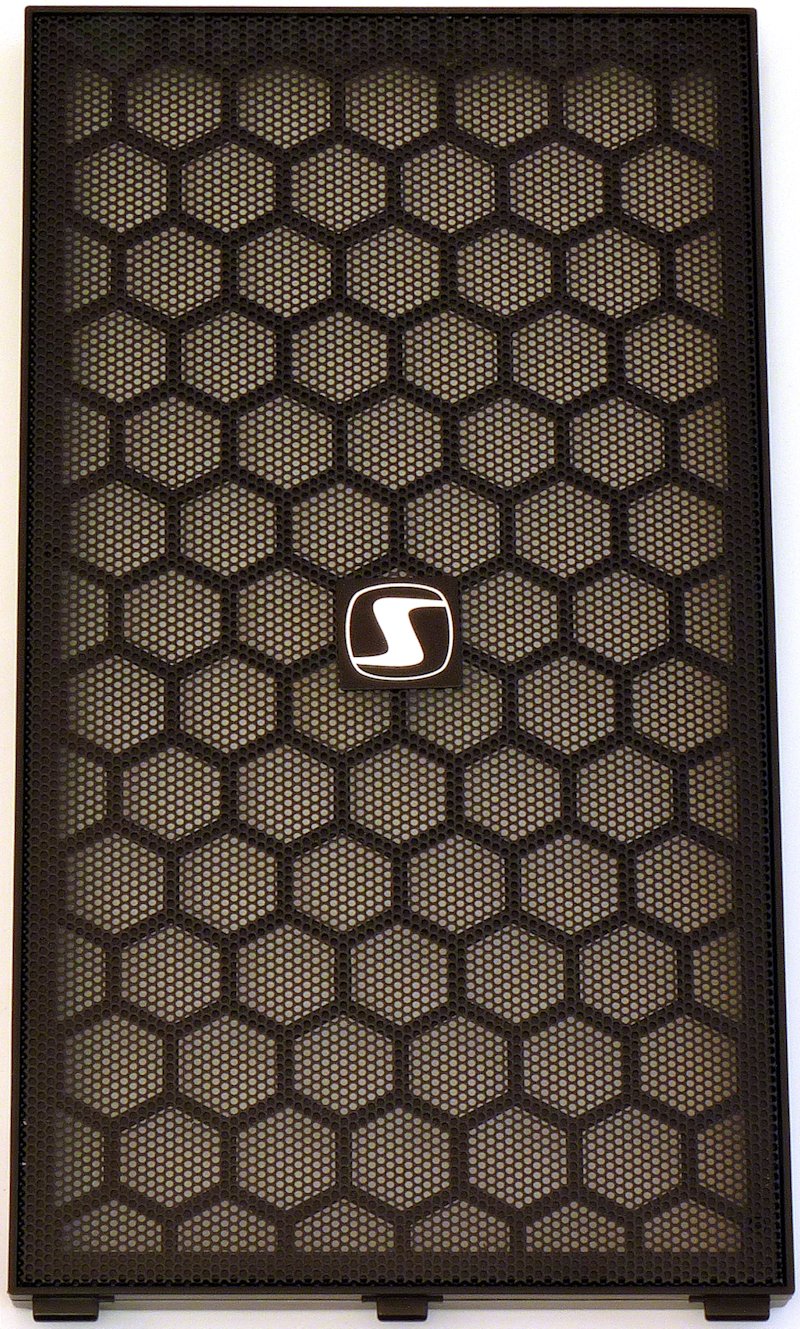
Lets start from the front. What we can see on the very front are covers for 5.25″ positions and under them is easily removable fan cover, which is a mesh which also acts as a first stage dust filter. It uses that “push’n’click” retention mechanism.
The mesh is metallic, pressed into a plastic frame. The manufacturing quality is nice and the result is quite firm.
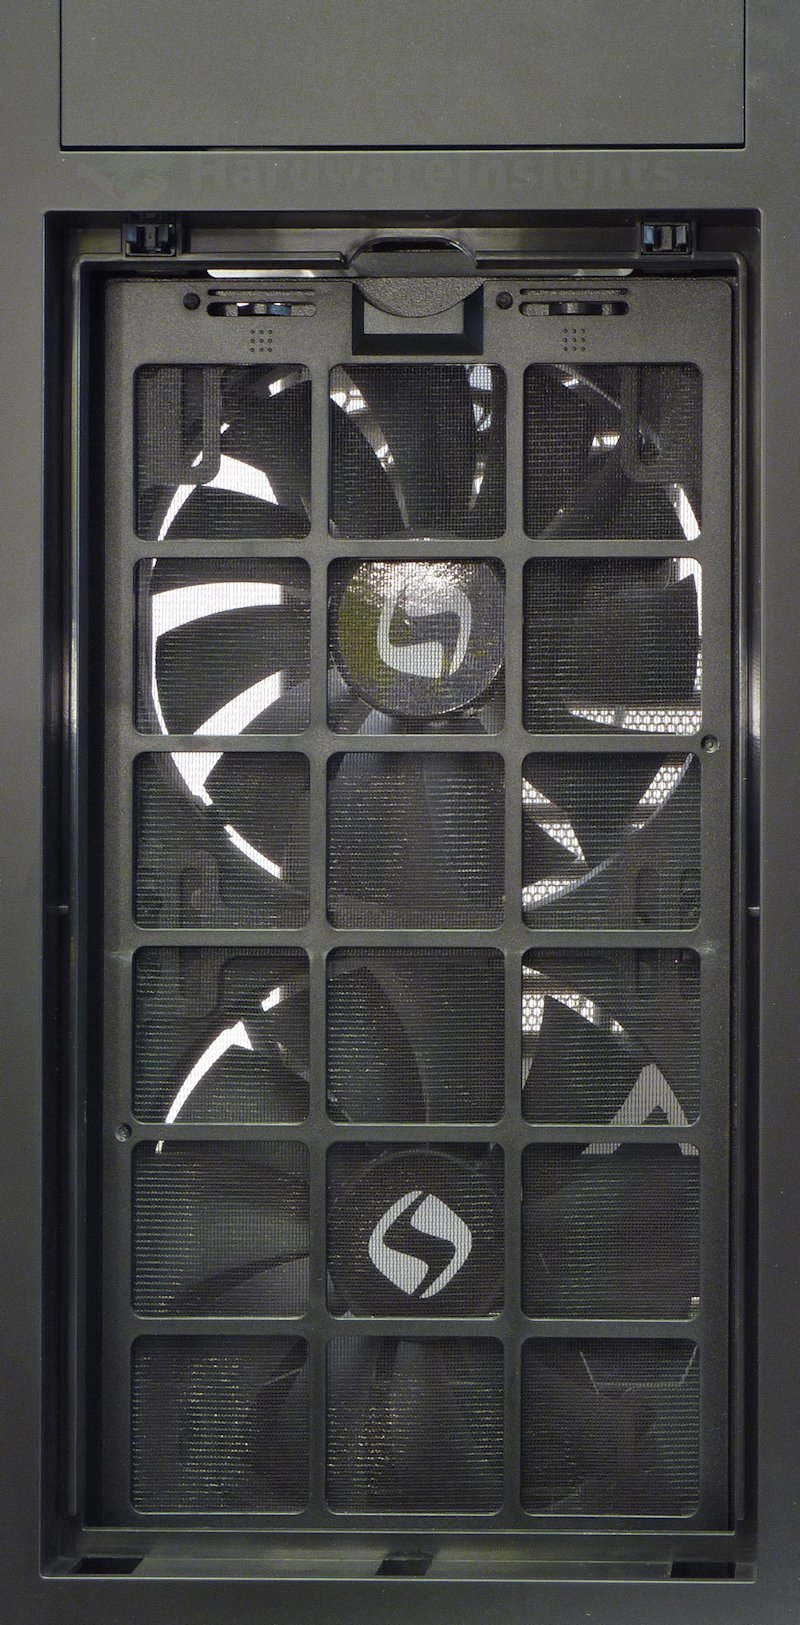
Behind the cover there is dust filter for fine dust, also quite easy to remove. We can see the two pre-installed 140mm fans.
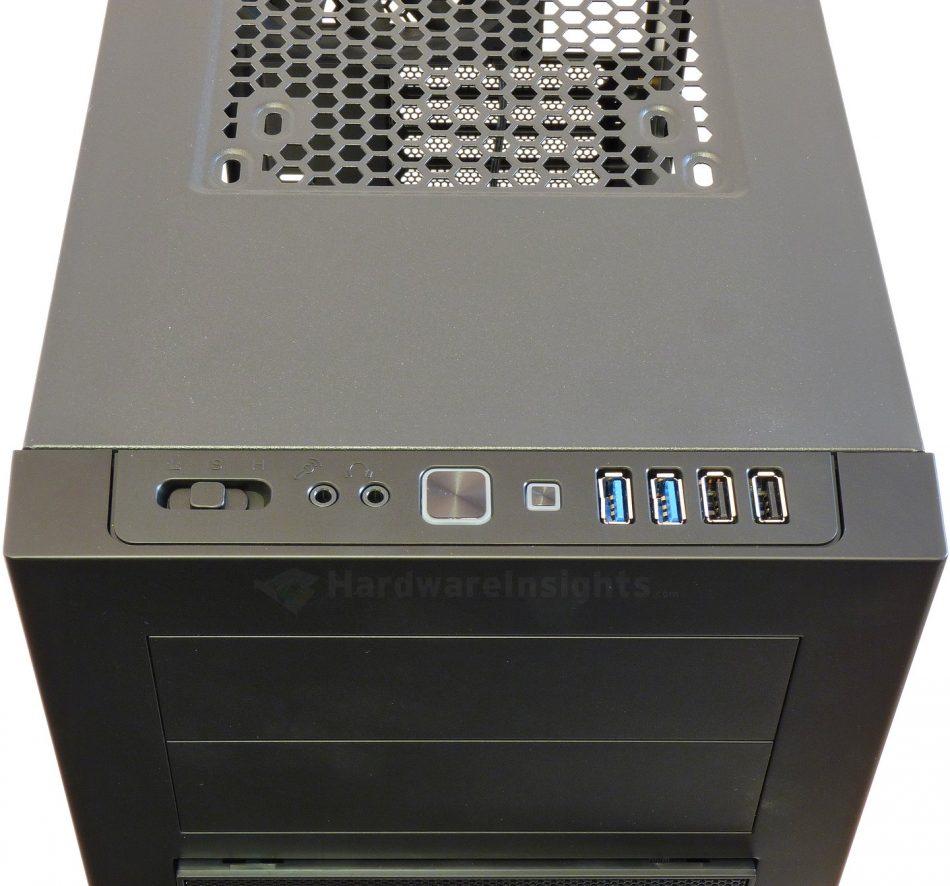
On the top-frontal part of the Aquarius M60W we can see the button/connector panel, which includes two USB 3.0 and two USB 2.0, plus audio jacks. There are no rubber caps this time. On the left side there is also three-position switch to select the fan speed through the integrated regulator (2 speeds are available, the middle position turns them off).
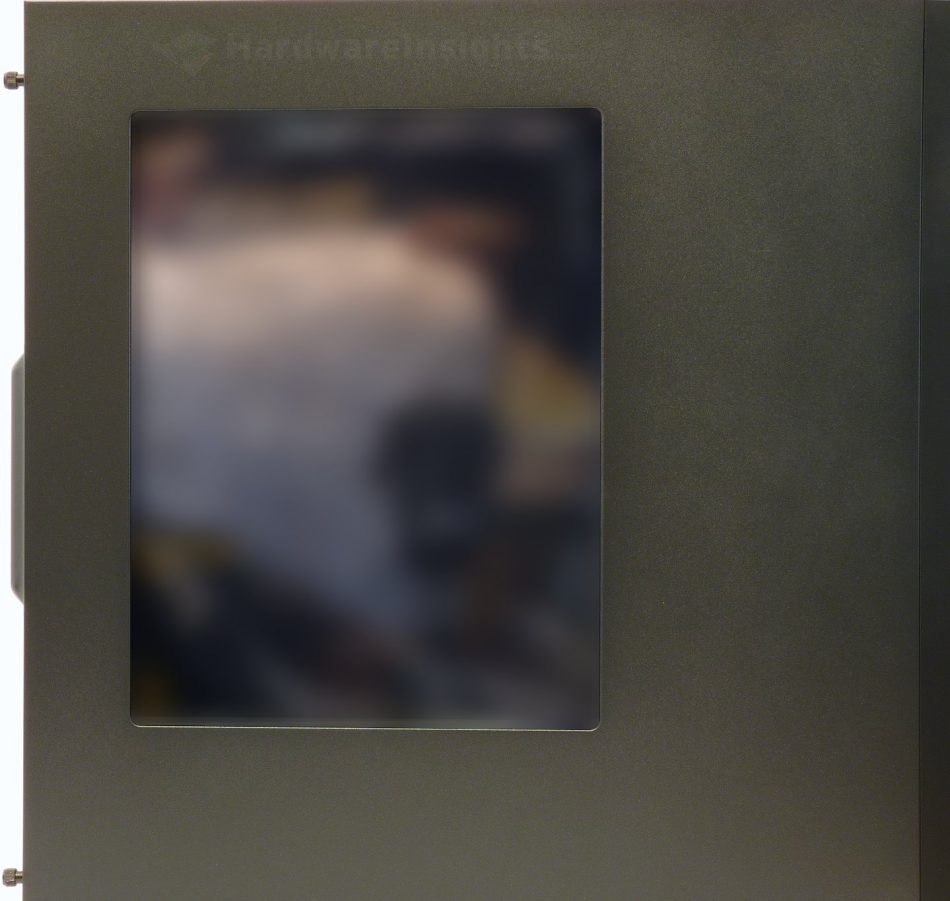
From the side you can clearly make out the profile of the M60W case. The metal part has a sharply contoured edge, and this is basically your typical base “box” (for lack of a better term). This time there is no top plastic cover and the front one is rather small, that is the reason why the outer dimensions of the case are smaller. But the metal chassis itself is pretty much the same size as of the Z9 Neo. The side window is quite glossy once again.
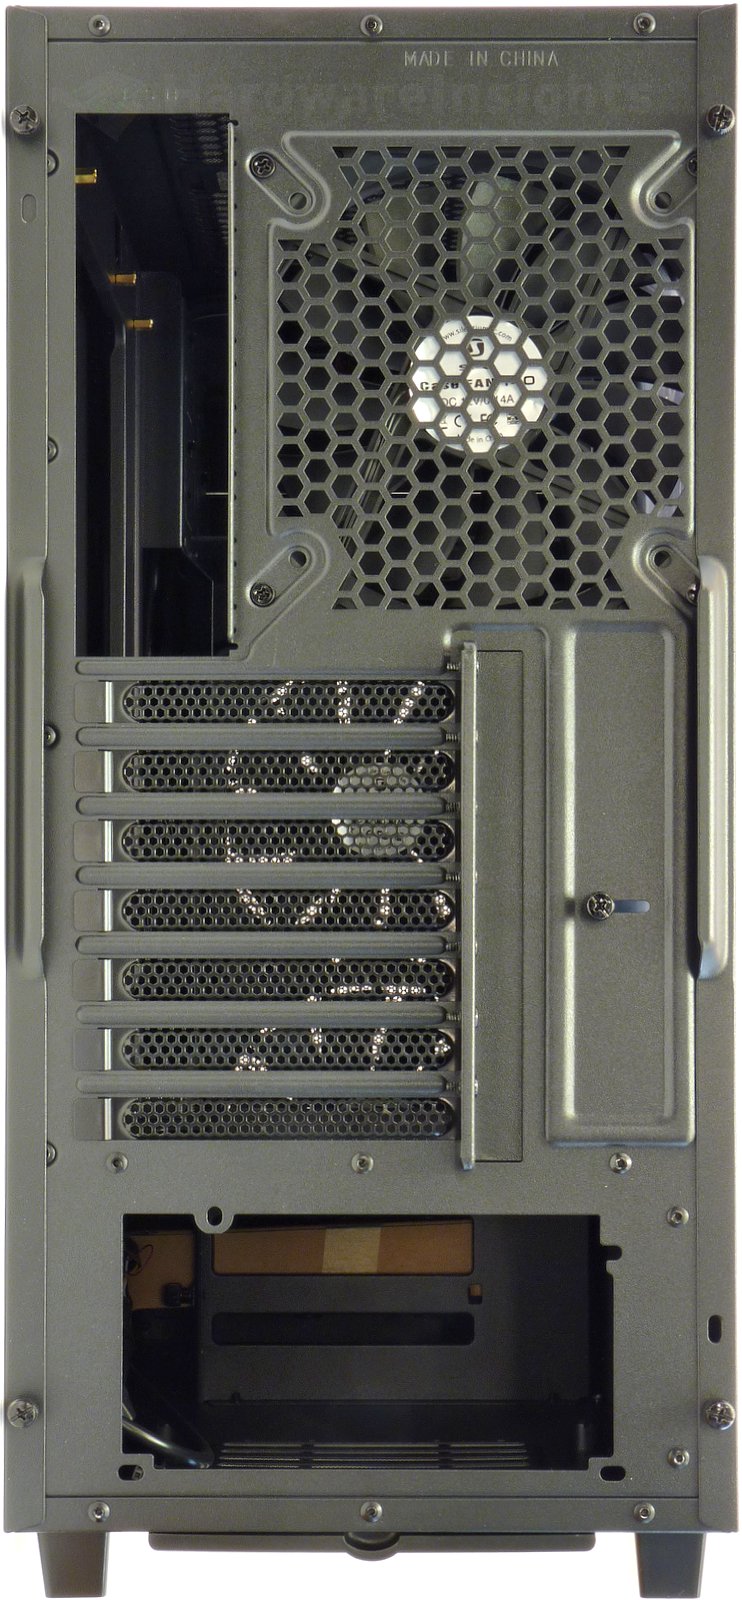
There are no perforations on any of the sides. The window-less side is just bare metal, nothing to see there. Both side panels come with thumbscrews so you can remove them easily with just your bare hands. Well, after they wear a bit, from the factory they have been screwed so firmly I had to use screwdriver anyway. There are no perforations on the rear side, under the fan and next to the expansion slot brackets which is how I personally prefer things. Instead, there is this mechanism which moves a metal plate which pushes the cards and I guess in theory allows screw-less mounting of the cards. A single thumbscrew holds it in place. The back side is quite sturdy and provides the card with good support, this is very nice.
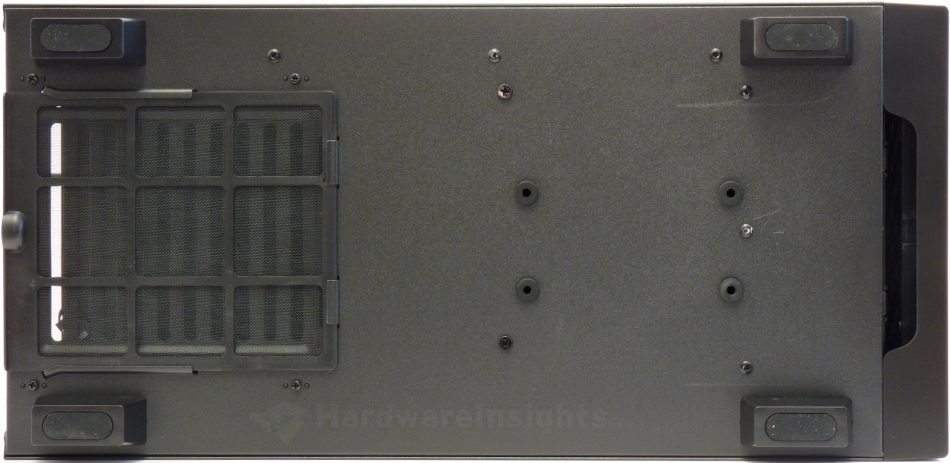
The power supply mounting position supports the PSU only in the position facing down. As there is the metal compartment on the bottom of the case, it makes no sense turning it face up anyway. On the left side there is the PSU position with dust filter, easily removable one. Notice the rubber pads on the right side, those actually form a third 3.5” hard drive position for one non-removable drive as it is held by screws through these pads.
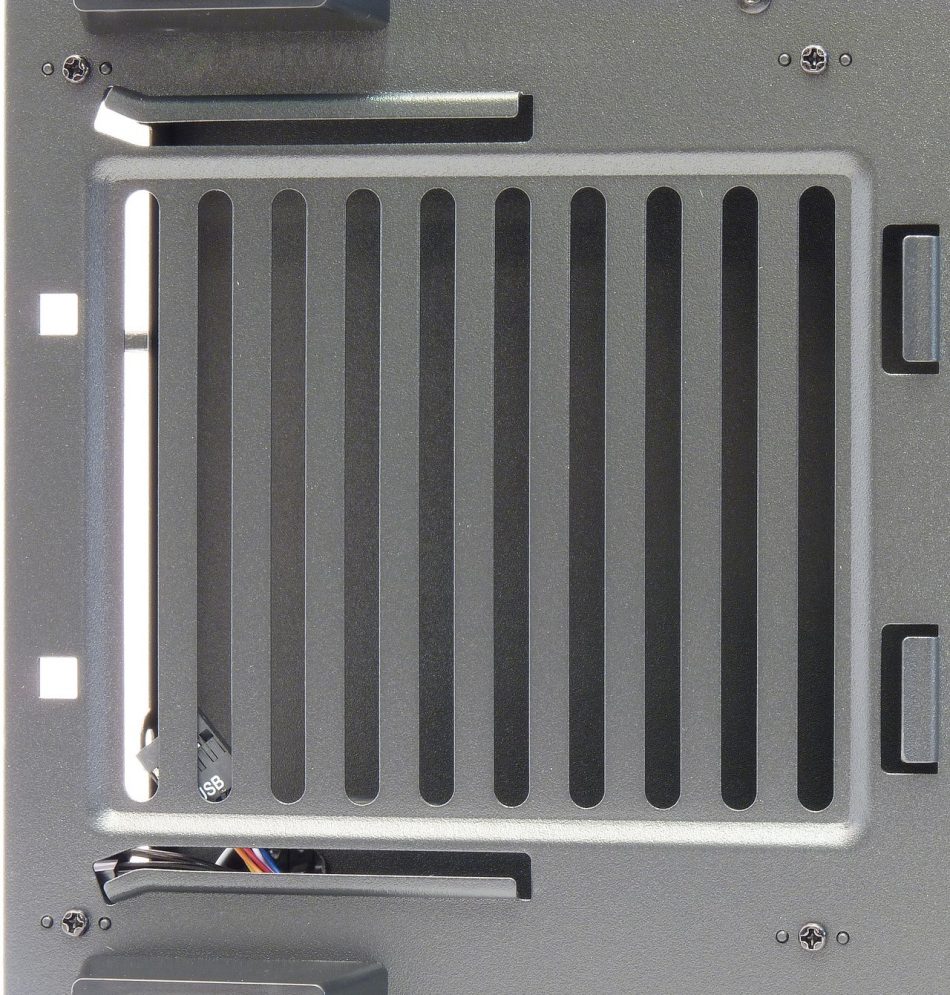
Under the filter we can see wide slots instead of the usual hexagonal perforations. I think there could be a little bit more space instead of the metal.
