Contents
Externals cont’d
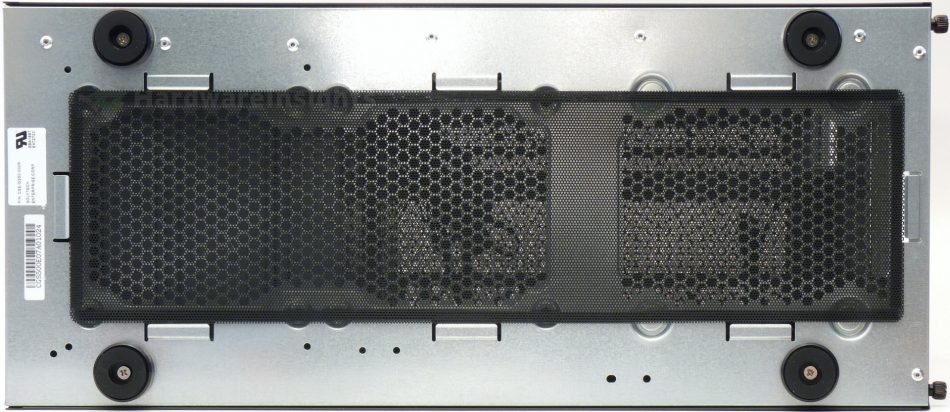
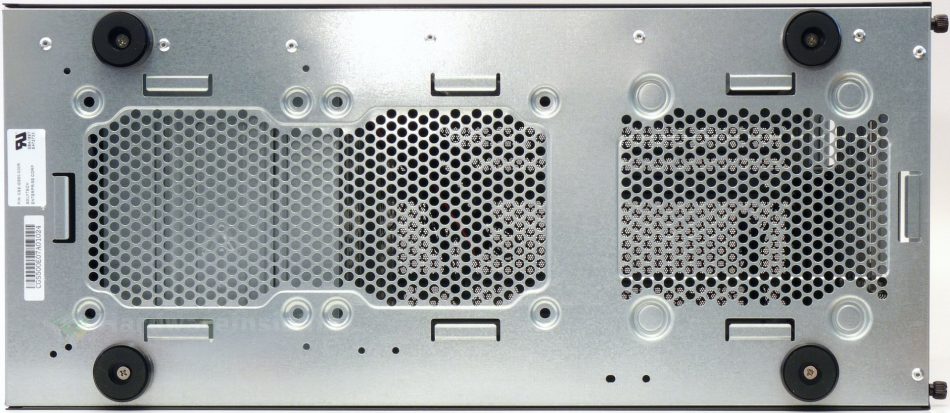
Supermicro provided the case with a similar filter as SPC did their M60W, that means plastic mesh with magnetic strips on the edges. This large one covers the bottom fan openings.
As stated before, though Supermicro only states one bottom fan position on the box (and none on their website or in manual), there are actually two of them. Availability of the second one depends on whether you have the hard drive cages mounted or not, in case you do only a slim fan may be a better option.
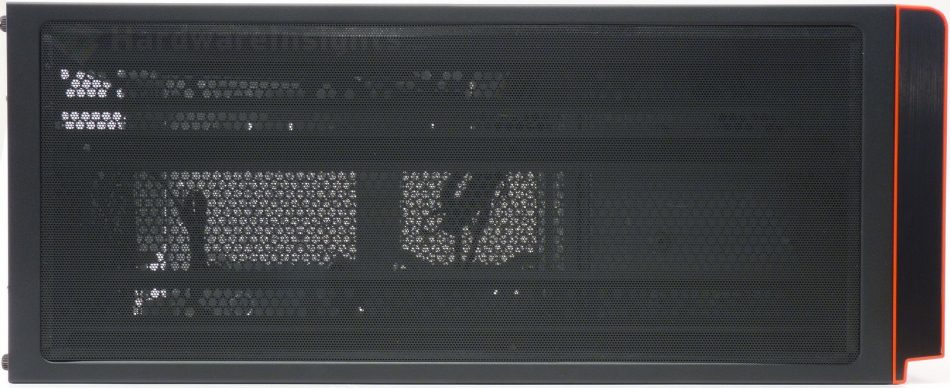
Similar situation is with the top part, there is a very similar magnetic filter, nice again.
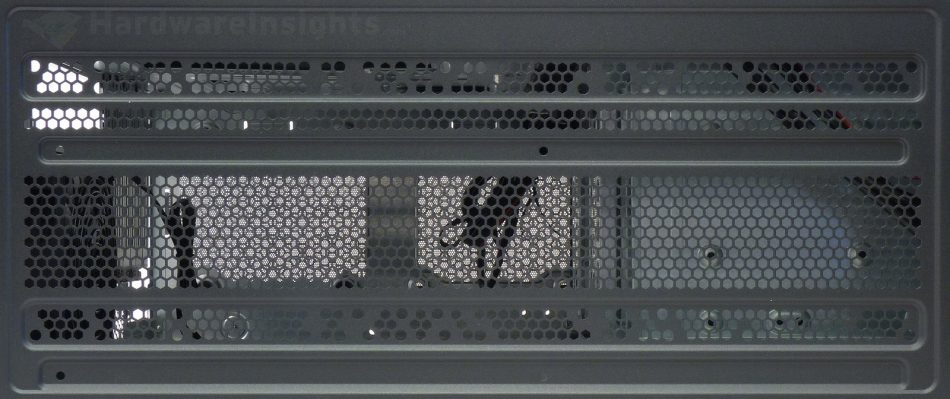
The fan mounting positions are very versatile, if you choose 12cm fans you can shift them few centimeters here and there in almost all directions. I presume this is for fine tuning of water cooling radiators. It is however somewhat asymmetric and there is this non-perforated ribbon, most likely to provide better structural integrity. It will however block a part of the airstream.
Internals
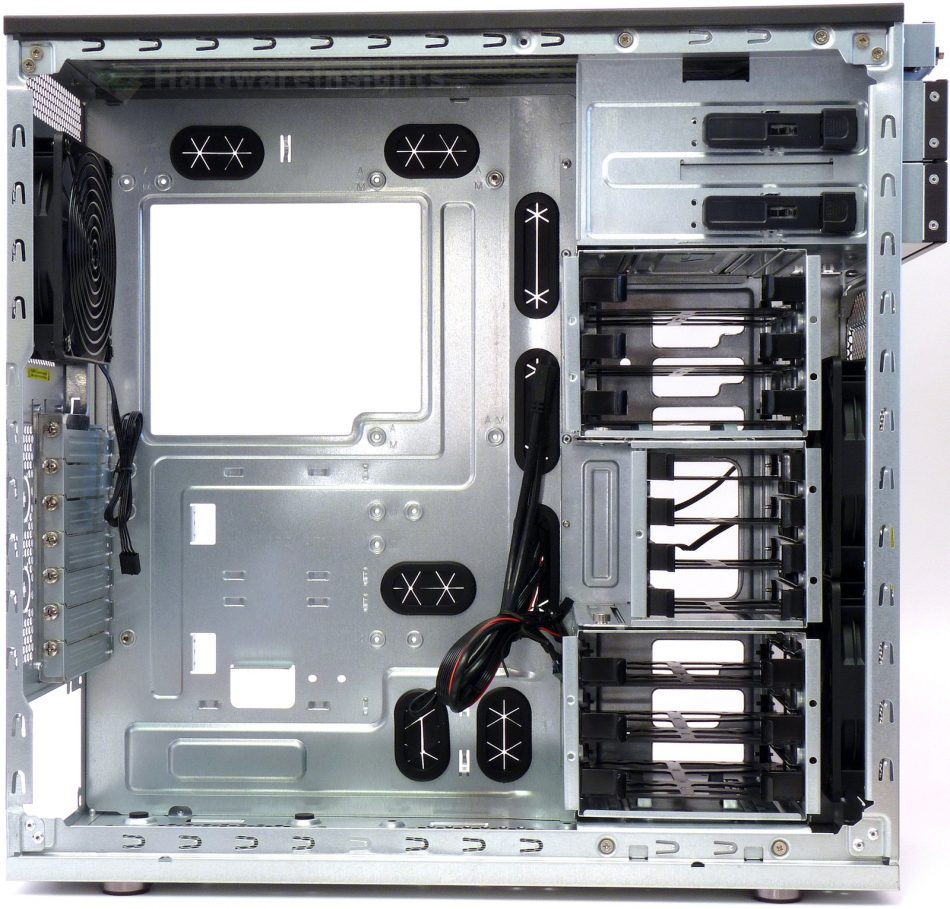
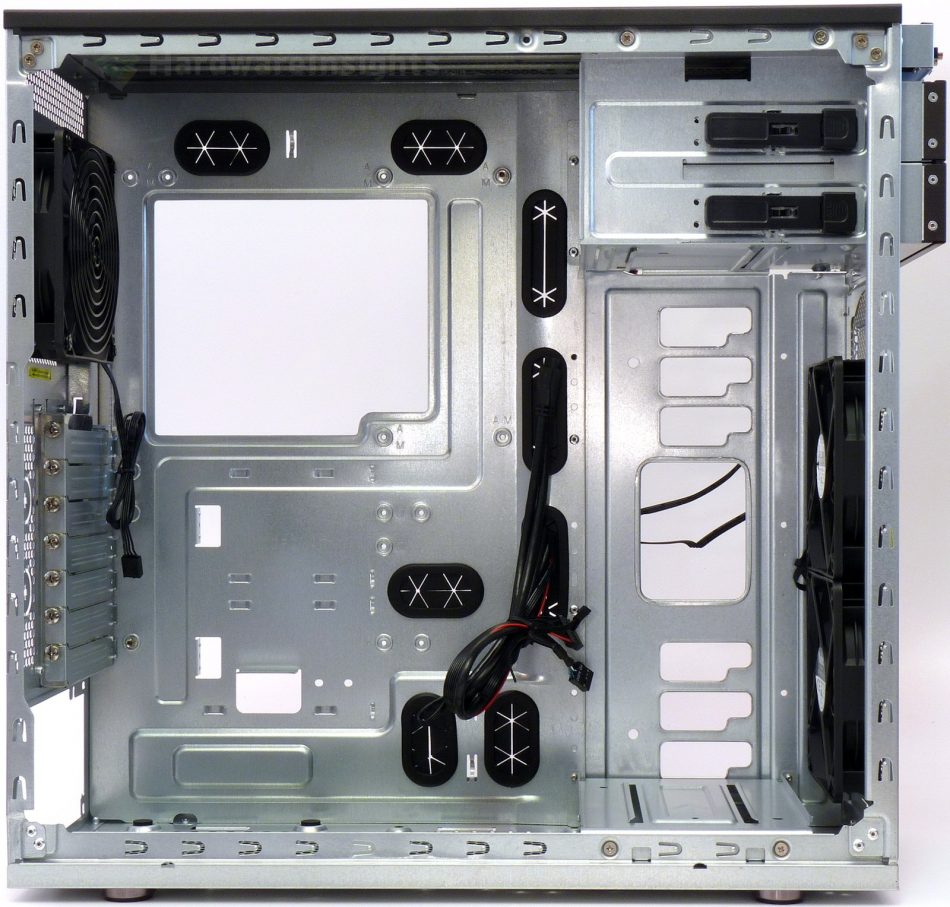
The GS50-000R uses traditional layout with hard drive cages in the front. Thanks to that you can also use fanless power supplies in this case as the upper part will not be obstructed. Rubber covers for cable management behind the motherboard plate are clearly visible thanks to their contrast to galvanized steel. Same with the tray opening for CPU heatsink installation. Notice the rear fan grill, this is standard feature in workstations/servers.
We will have a closer look at the cages later, but I can state here you can reconfigure their location or only use one or two. They use many screws and also bottom and top rails, which are kinda sharp. Actually there are many edges which are very sharp in this case and you can badly injure yourself unless you are very careful. Maybe this is OK in the so-called enterprise market (workstations, servers), but this has no place in retail home/office use case in 2017, especially with such price tag!
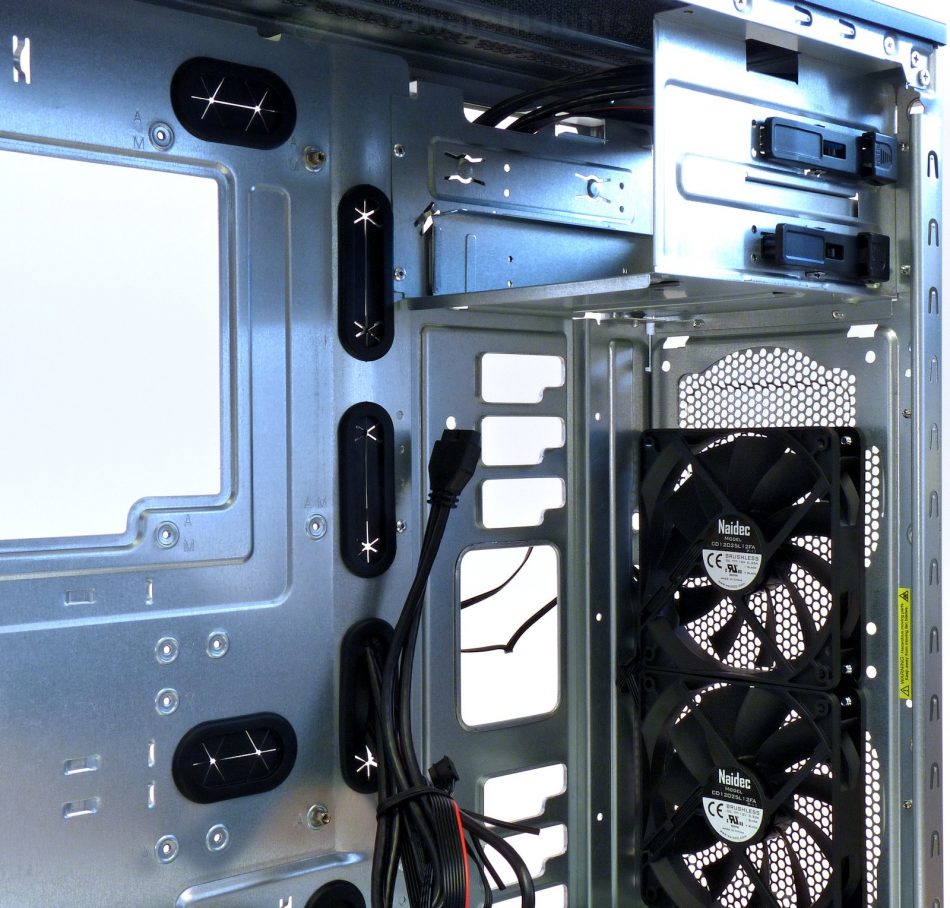
To access he front fans you have to remove all the removable caddies (otherwise you won’t be able to remove the fans) and the front panel too (to unscrew them). The 5.25″ positions are integral parts of the case and could not be removed. They however use plastic clips for tool-less installation. Notice the front panel cabling hiding above the 5.25″ positions.
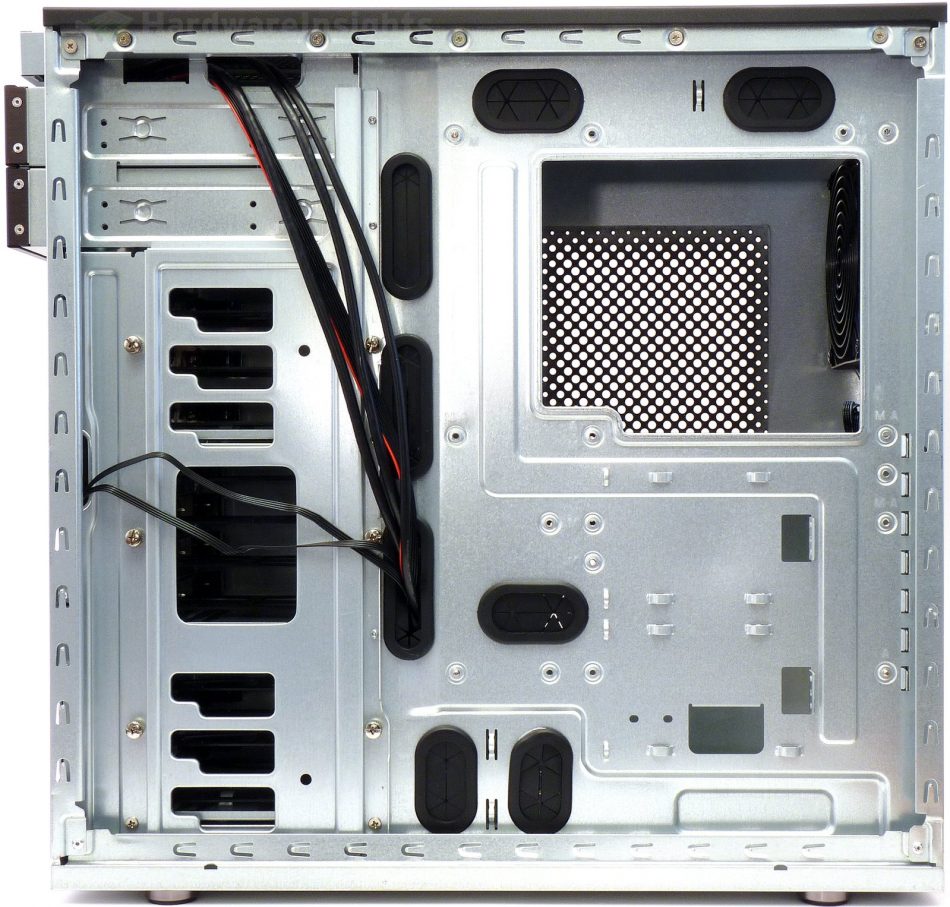
If we look at the other side we can see how the drive cages hold in place. It kinda looks like this metal part you can see has been designed later and put onto this case skeleton, as it previously looked different. It is riveted to the chassis so once again, also thanks to this the motherboard plate is far from sturdy. It is actually pretty soft even with the cages mounted in, you can shake with the tray with just two fingers. This is very poor for such an expensive case, I demand perfect rock-hard stability of a most important part whose role is to support the motherboard. With even the CPU sockets using BGA for some time it is essential to never bend the motherboard. How Supermicro wants to do that when its motherboard tray bends only slightly less than pasteboard is a mystery to me.
So back to the drive cages mounting. Notice there are six thumbscrews, but those were tightened so firmly I had to use screwdriver anyway. The openings also only allow for SATA drives, I doubt you will be able to connect PATA or SCSI drive in this case. Forget about accessing the drives from both sides. So this strange plate only adds weight while it limits versatility and its structural integrity is far from good. As a first of consumer cases it is not so bad, but still could use some more intelligence. Have I mentioned the current price does not cope with what you get for it? It is nice though that SM provided some attachment points for cable tying.
