Contents
Cooling & component installation
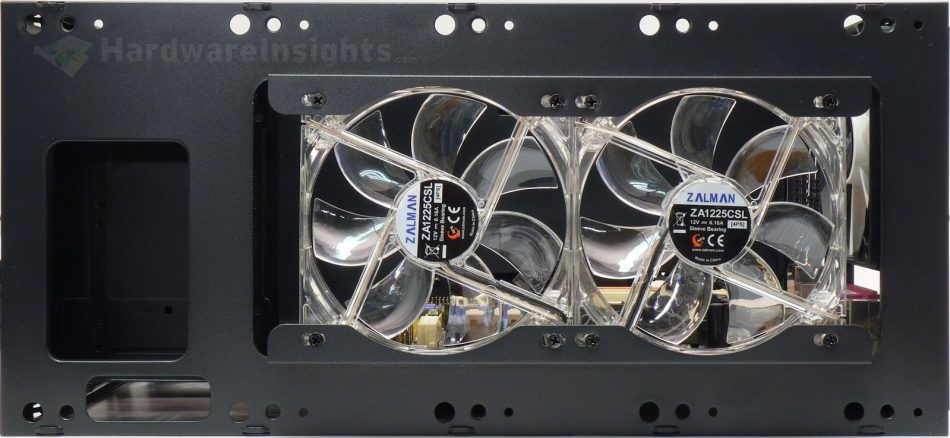
The top plastic cover uses pushpins and is fairly easy to remove. It hides two transparent, model ZA1225CSL. They come with white LEDs, and I have found no specifications for them at all. That means we will have to wait for the actual measurements to discover their speed. They use molex connectors and sleeve bearing.
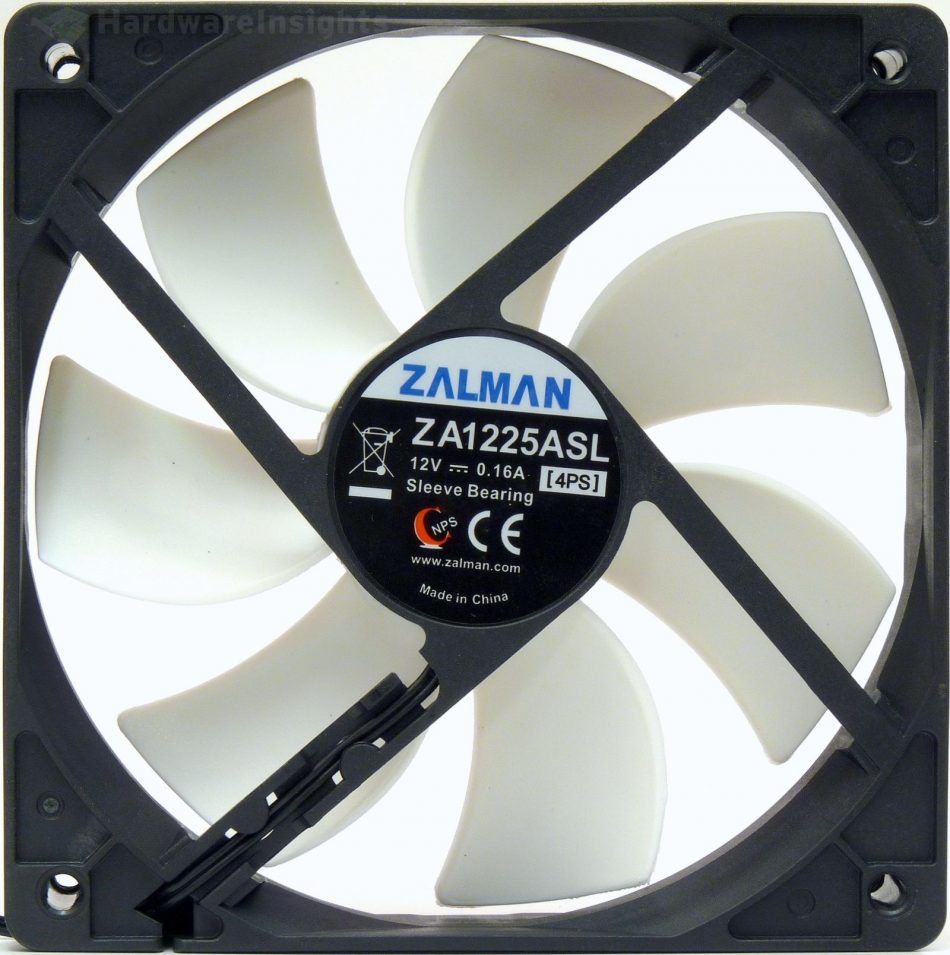
Situation is the same with the front panel. The front and rear fans are different as they use black frame and white rotor and have no LEDs. The rear has mini DMI connector while the front two pieces also have peripheral molex. Connecting all the molex connectors together was also somewhat difficult, though not as much as with the Taurus 5000B last time.
These ZA1225ASL are also sleeve bearing fans though this time I found some actual specs. The maximum speed should be 1600 RPM with airflow rated at 59.1 CFM and noise of just 26 dBA.
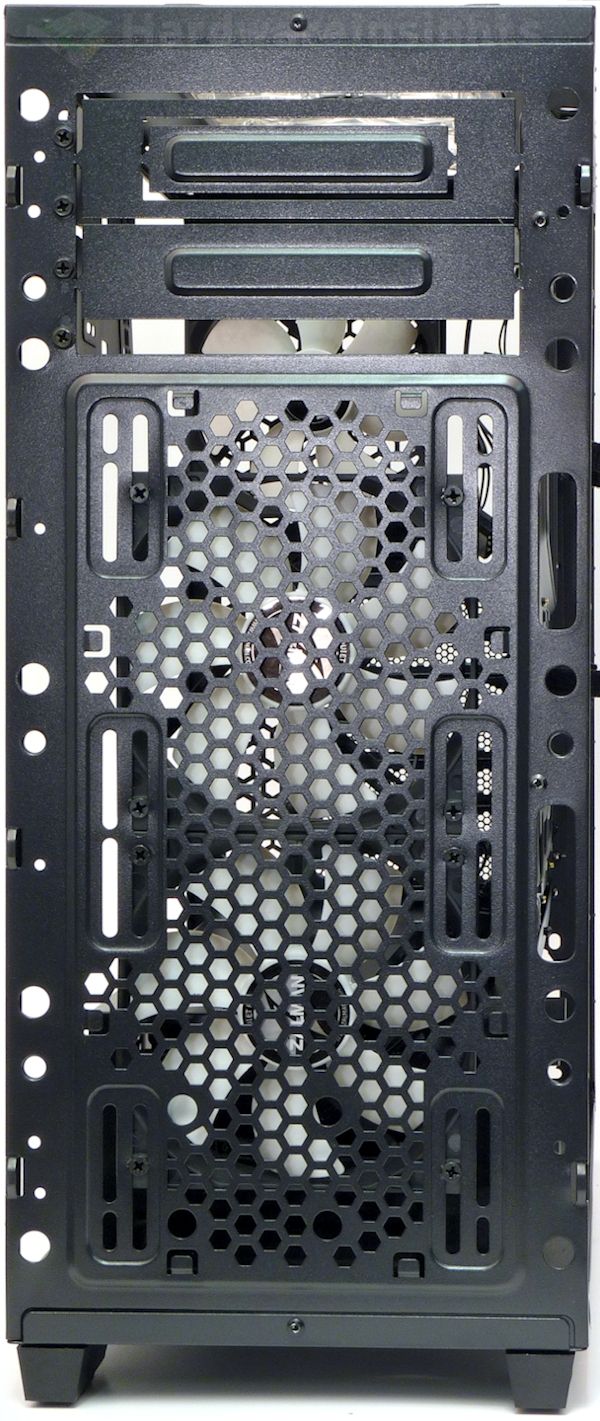
In the front position there is this easy-to-remove plastic mesh which acts as a crude dust filter.
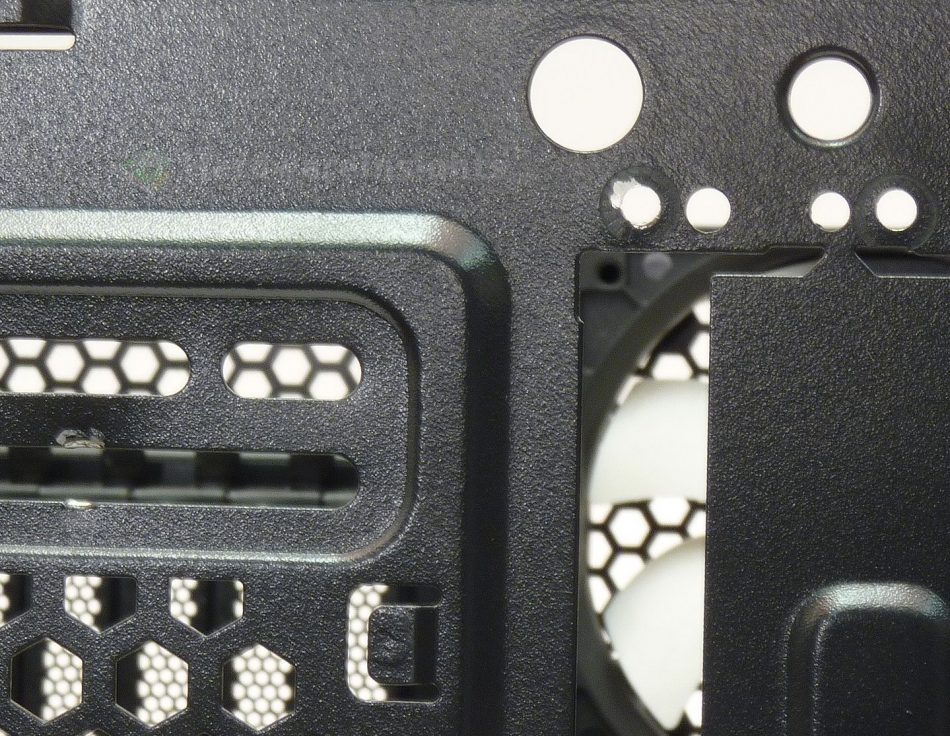
Talking about the fans deserves some comment about the case steel and paint quality. As you can see on the closer look at the front fan and 5.25″ positions, it took just to remove the fan and the 5.25″ tray once to tear the painting off. And look how the “steel” deformed under a screw mounted to just plastic fan! This situation happened repeatedly. Basically every time I removed any part of the case, especially when unscrewing some screws, pieces have been falling of the case. Mostly metal pairing from the screw worms and some pieces of paint which broke from around. This is consistent with other things I have heard about Zalman cases and their paint falling down from the metal. The layer of the paint is also uneven as when I measured the steel thickness, I encountered 0.05-0.1 mm differences!
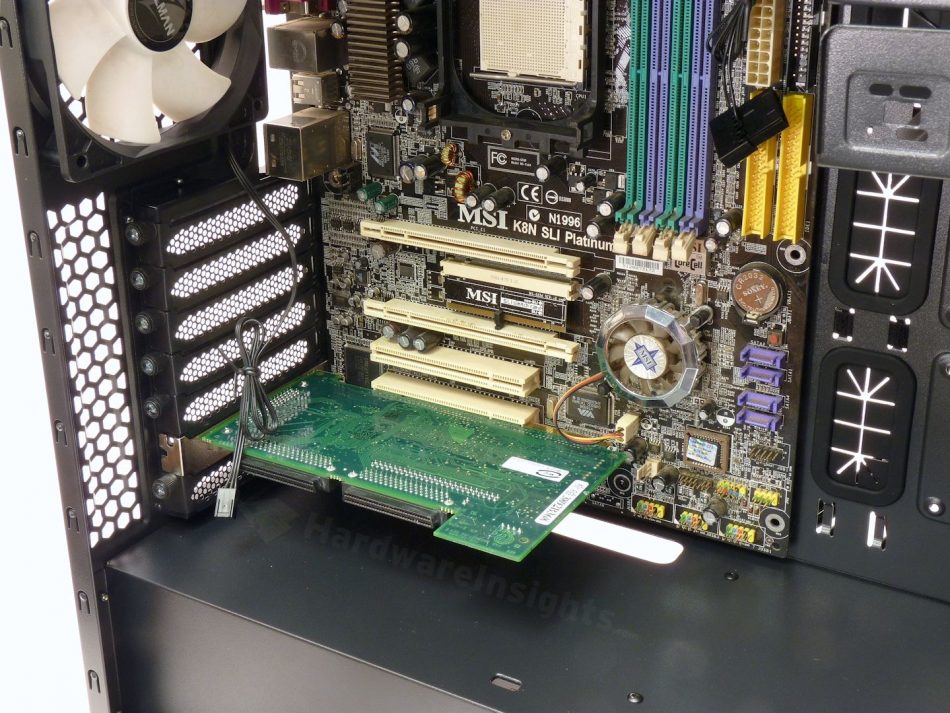
For component installation with the Z9 Neo, I randomly selected the first Full-ATX motherboard I found together with some larger card. (In particular, the PCI Adaptec 29160 SCSI controller). Besides the fact I had to use screwdriver to remove one of the thumbscrews which was also damaged (part of the plastic head was torn off) I found no problems.
Mounting 3.5″ hard drives is very easy, just insert&go. In case you need to mount a drive firmly, you can use four holes in the bottom to screw it to the caddy. There are also holes for attaching another 2.5″ drive to it. Those rubber things on the caddy, which are put between metal rails when inserted to the cage, are most likely some kind of rubber. It is very hard so I doubt it will actually help dampening vibrations much. Also the thing in the front, which works as both a handle (to pull the caddy out) and as a retention mechanism, renders the caddy pretty much useless for anything else but SATA drives. Maybe, if you are lucky, you may be able to squeeze PATA drives and even SAS drives in there (provided you have the right type of SAS cabling). It is impossible to put a SCSI drive with SCA-80 to LVD-68 adapter in there.
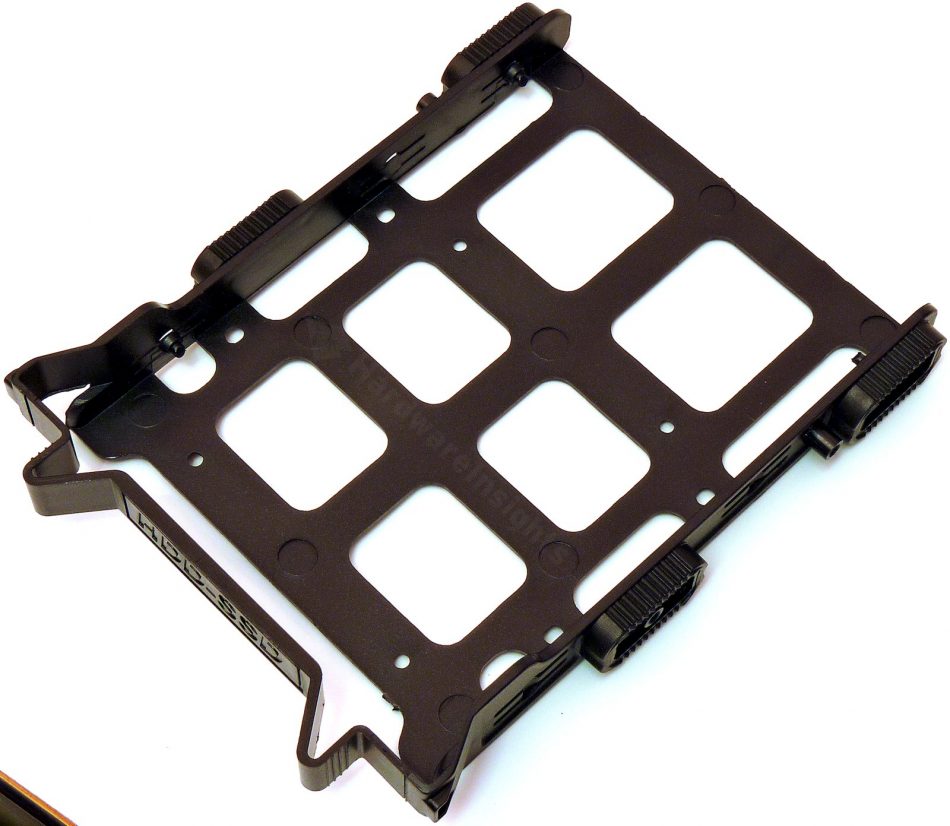 Actually connecting even SATA power connectors may be somewhat difficult as basically there is just a little bit of space under the “handle”. I guess nobody from Zalman actually thought about using it in real world. It works great if you connect the 90° SATA connector which is the last one on a cable chain. But I have somewhat hard time imagining connecting connectors from the same chain to both the 3.5″ caddies. And because of the compartment is sealed from the other side of the case, you don’t even have a chance of turning the drive around and connecting from the other side. In my opinion the caddy definitely needs some tweaking, the question is if Zalman can do any for the money the Z9 Neo sells.
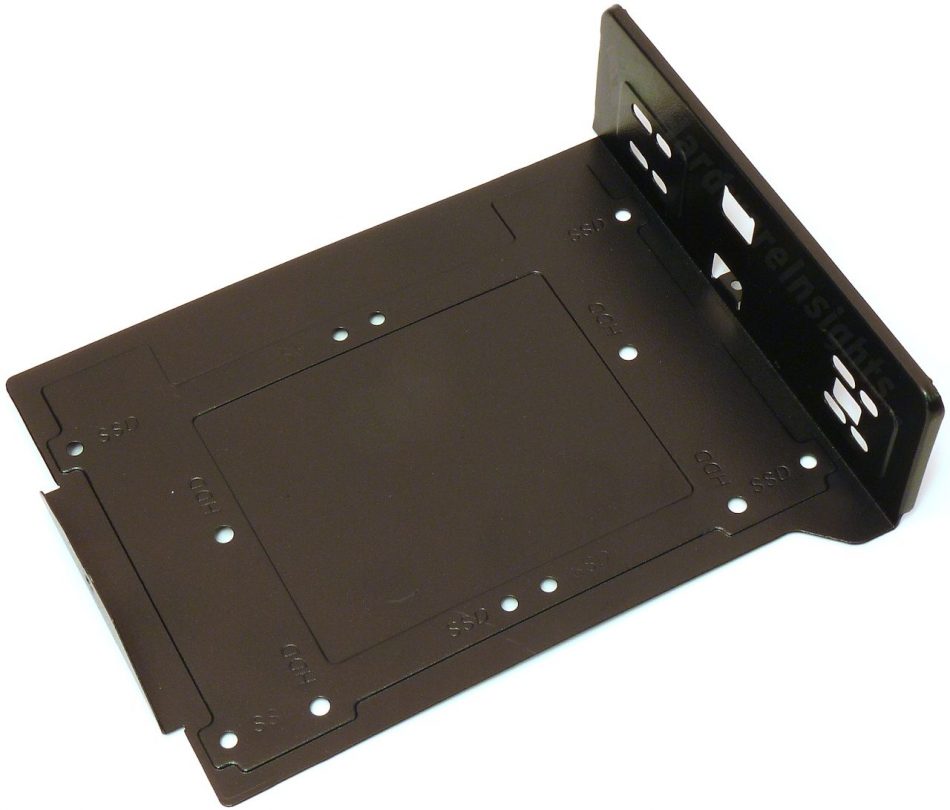
The “caddy” for 5.25″ drives has few corners cut as well, as you can see…well, not just corners. To save as much as possible on the Z9 Neo, instead of proper cage this is just a piece of paper thin, 90° bent metal sheet, holding on three screws. You can deform it with the fingers of one hand, that’s how thin it is. There are few holes in it so you can also install a 3.5″ drive, or two 2.5″ drives instead. I am not sure I want to even just imagine what mounting some vibrating HDD to this would result in. But maybe I will try it for the sake of proper testing.
